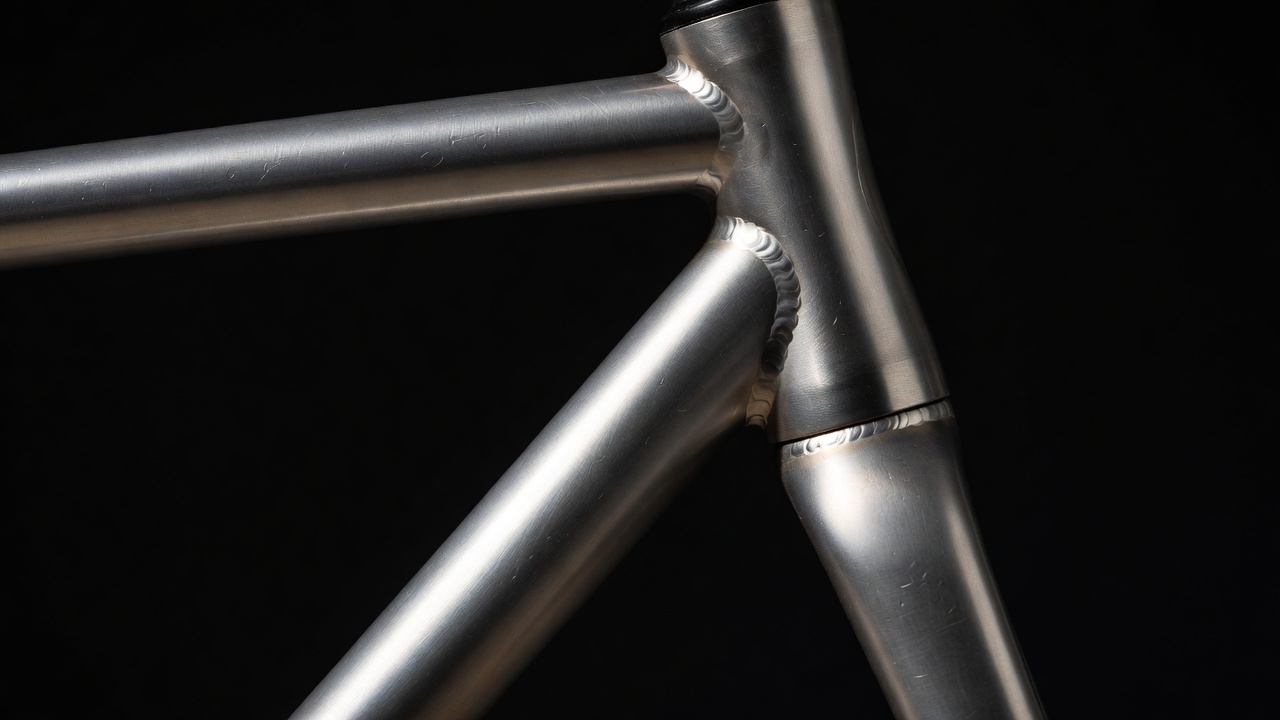
Illustrative photograph. Directional lighting can reveal texture but cannot establish structural condition.
Start before the close-up
A tight photograph can make a scratch look dramatic while removing the information needed to interpret it. Begin with an overall view of the equipment, then a component view, then a detail. Record the make, model and accessible identification markings separately. A racket throat, a bicycle fork crown and a helmet shell may all display thin lines, but their materials, manufacturing features and consequences differ. Context is part of the evidence, not an optional caption.
If an impact, fall or unusual sound prompted the inspection, write down that report before looking at an AI result. Separate first-hand observations from someone else’s account. “Owner reports a fall onto the left side” is more useful than “crash damage” when no one has established the cause of the visible mark.
Control the scene without altering the item
Place the equipment on a stable surface only if it can be handled safely. Do not bend a suspected crack open, pull on loose fibres, remove bonded parts or ride the item to reproduce a noise. Avoid cleaning methods that could affect coatings or materials. If ordinary cleaning is permitted by the manufacturer, photograph the area first and document what was done. A before-and-after pair can distinguish loose dirt from a persistent feature without pretending that cleaning resolved the underlying concern.
Use a plain background that contrasts with the component. Keep tools, packaging and unrelated labels out of the detail view. Background clutter can distract both a person and a model, especially when an algorithm has learned accidental associations from training photographs.
Make the light do useful work
Take one evenly illuminated image and another with light arriving from a different direction. Glare can erase a line on glossy carbon; a hard shadow can invent one. Diffuse light is often useful for colour and coating changes, while oblique light can help describe raised edges or depressions. Neither is inherently more truthful. Keep both when they show different aspects of the same area.
Focus on the surface of interest rather than the background. Check the image at full size before moving the item. Digital zoom and aggressive sharpening do not restore missing detail. If the camera cannot focus close enough, step back and retain a wider, sharper image. Avoid filters, portrait blur and generative enhancement: those processes can change precisely the feature a reviewer needs to examine.
Keep scale and orientation intelligible
Where safe and practical, place a suitable scale beside the surface without covering the mark or pressing on the component. A ruler floating closer to the camera than the object does not provide reliable measurement. Curved surfaces also make single-image size estimates uncertain. Describe approximate position using recognisable features: “outside of the left fork leg, below the crown” is preferable to an isolated arrow with no overview.
Take an additional view from a changed angle, keeping the original reference view. Perspective can make a straight rim appear distorted or hide a shallow dent. If measurement matters to a decision, leave it to an appropriate procedure rather than treating a casual photograph as dimensional metrology.
Preserve the original, annotate a copy
Keep the camera files in their original resolution. Messaging services may resize or recompress images, and screenshots discard useful information. Store annotations separately: a box or arrow should mean “area to review,” not “confirmed crack.” Label edited copies clearly and retain an untouched original beside them. Avoid embedding personal details, faces or precise home locations when they are unnecessary to the review.
A usable capture record includes the item identifier, date, photographer, view direction, lighting notes and any cleaning or handling performed. If photographs will enter a model, also record resizing and cropping steps. This makes it possible to distinguish a capture failure from a recognition failure later.
A short pre-review checklist
- Whole-item, component and detail views all refer to the same item.
- The mark is in focus in more than one lighting condition.
- Original files remain unchanged and identifiable.
- No image caption claims a diagnosis that has not been established.
- Suspected safety-critical damage has not been tested through use.
Use the product’s own instructions
Check the exact product documentation rather than borrowing a procedure from similar equipment. Shimano’s technical documents and SRAM’s service resources provide model-specific information for bicycle components. Trek and Specialized also publish owner and product support material. These are starting points for finding the correct instructions, not endorsements of photographic safety assessment. When a manual requires professional inspection or replacement, a cleaner photograph does not remove that requirement.